[Solved] We Couldn’t Connect to the Update Service in Windows 10
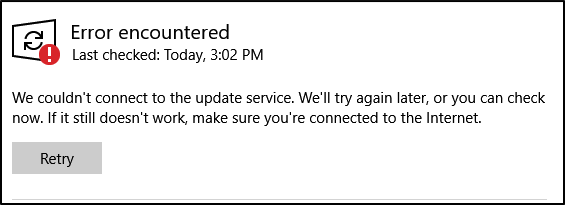
You are connected to the internet but you get the following error when running Windows 10 update:
“We couldn’t connect to the update service. We’ll try again later, or you can check now. If it still doesn’t work, make sure you’re connected to the Internet.”

If this is the case, then this guide is for you!
This article contains all the solutions to this error. Continue reading!
How to Fix “we couldn’t connect to the update service” Error in Windows 10
This error usually occurs when your computer/laptop can’t connect with the Microsoft servers. The following might cause the issue:
- Your internet connection;
- A 3rd party software which blocks the connection with the Microsoft update servers;
- your computer’s network configurations;
- Your computer’s system files
So before going to solve the problems, you need to verify these first:
- You are very well connected to the internet;
- You have enough space on your hard drive (to download updates); and
- Your internet connection have a decent speed (at least 1mbps)
Are all these clear? If yes, then let’s see how to fix the “we couldn’t connect to the update service” Error.
Solution 01 — Disable applications that block the connection between Microsoft servers and your PC
Disable Antivirus/Firewall
In most cases, what blocks the connection is the antivirus software; therefore, try to disable any antivirus software installed on your PC first.
After doing so, you can re-initiate the Windows update to see whether the “we couldn’t connect to the update service” still occurs or not. Keep in mind to enable it again once the update is completed.
If you still get the error, you can try to disable the Windows firewall (keep in mind to re-enable) or any other third-party firewall application if installed (such as Glassware) and check again.
Solution 02 — Set the DNS Adress correctly
Misconfigured DNS addresses can cause the “we couldn’t connect to the update service” error. Given this, you have to manually change the DNS address correctly to solve this issue.
How to configure DNS Address correctly
Here is what you need to do:
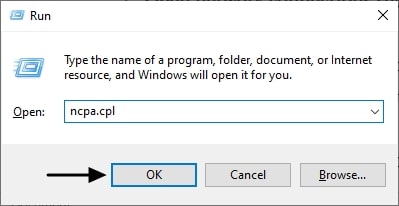
- Open network connections settings
Open Run Dialog box (Press Windows key + R) then type “ncpa.cpl” and press Enter button to open Windows 10 Network connections.
- Change the adapter (connection) settings
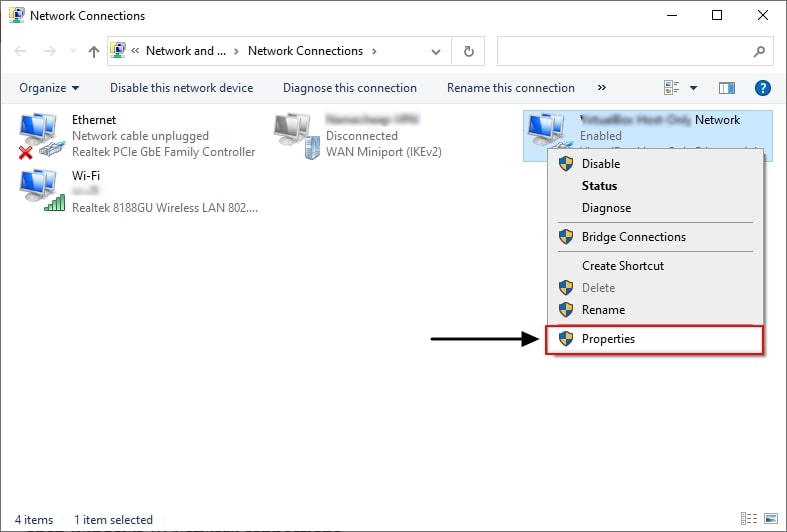
In the network connection window, right-click on the connection you are using (Wi-Fi/ethernet(cable) connection) then click on properties.
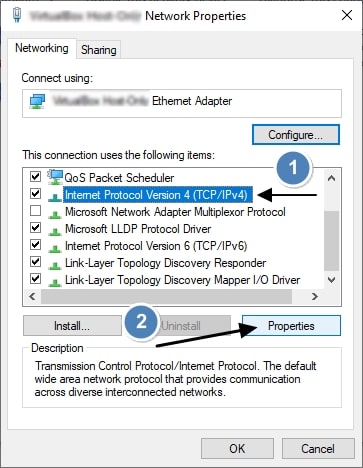
It will open up the connection properties. From the list, select Internet Protocol Version 4 (TCP/IPv4) and click on properties.
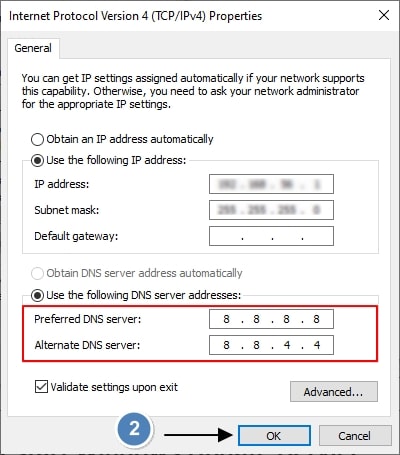
In the IPv4 properties window, click on “Use the following DNS server addresses” and type the following DNS addresses in it.
- Preferred DNS server: 8.8.8.8
- Alternate DNS server: 8.8.4.4

Once you type the addresses, click OK to save the settings. Don’t forget to run the update again to check whether the problem is solved. (If not, revert the changes and go to the next solution.)
Solution 03 — Restart Windows Update Service
If the Windows update service is off, then it will lead to the “we couldn’t connect to the update service” error.
So you have to enable it if it is stopped. Here is how to do that:
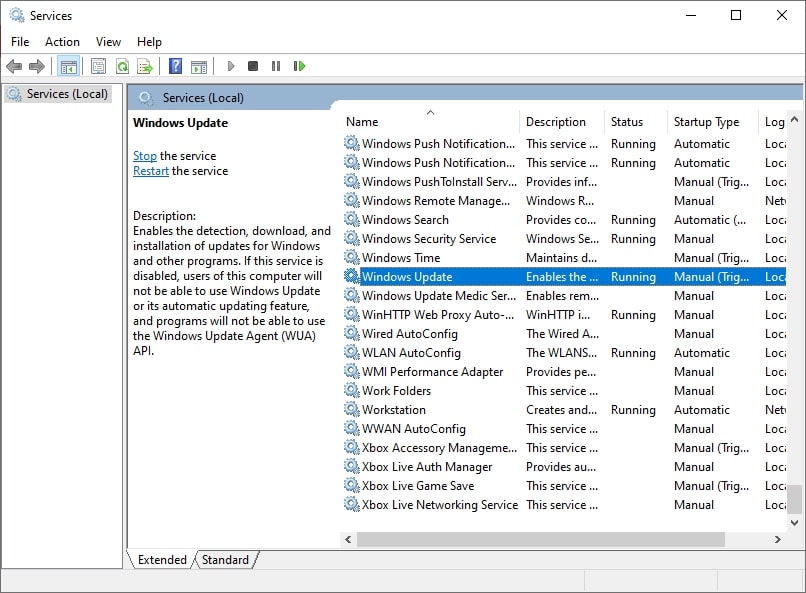
- Open Run dialog box and type “Services.msc” to open Windows services
- In Services, look for “Windows Update” (see the image above) and double click on it
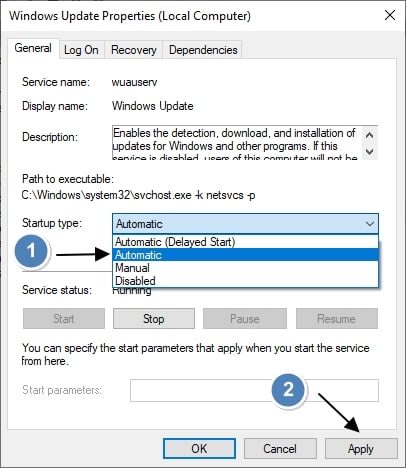
- It will open up the properties window
In there, if the service status has stopped, click on start and set the startup type to Automatic. After this, click the Apply button to save the settings.
That’s it. Now you can run the update again to see if the problem is solved.
Solution 04 — Turn Off proxy setup
If the proxy setup is turned on, every data could go through a proxy. This is a bit technical thing but the solution is to turn off the proxy setup.
Here is how to do it:
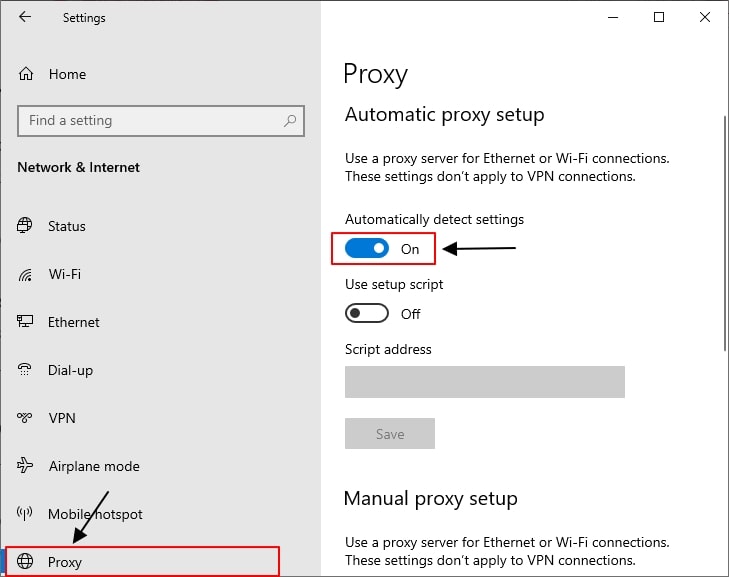
- Go to Windows Settings, then Network & Internet;
- From the left side, select Proxy; and
- Then Turn off Automatically detect settings.
Now you have to disable using a proxy server from internet properties (if you are using a LAN connection). To do that, here’s how:
Step 01 – Open Run dialog box (Windows key + R) and type “inetcpl.cpl” then press Enter;
Step 02 – It will open up internet properties. From there go to the connection tab;
Step 03 – Click on LAN Settings;
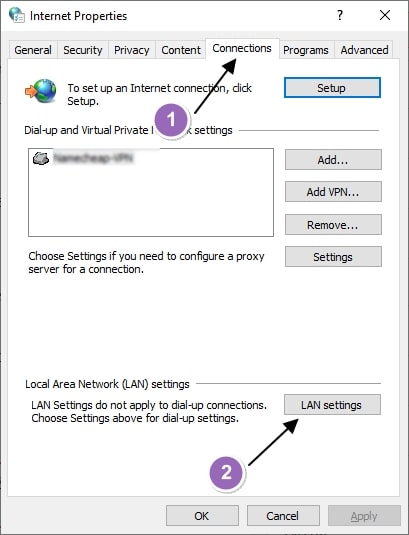
Step 04 – LAN settings windows will be opened and uncheck the box “Use a proxy server for your LAN”; and
Step 05 – Keep the “Automatically detect settings” and click the OK button to save settings.
Solution 05 — Reset Windows update components using CMD
You can reset Windows update components to default to solve the “we couldn’t connect to the update service” error.
There are 3 steps you need to follow.
- Stop 3 update components (services);
- Delete the update cache; and
- Start the components again
So as the first step says, let’s stop the 3 services.
Open CMD as administrator and execute the following commands one by one to stop the services.
net stop bitsnet stop wuauservnet stop cryptsvc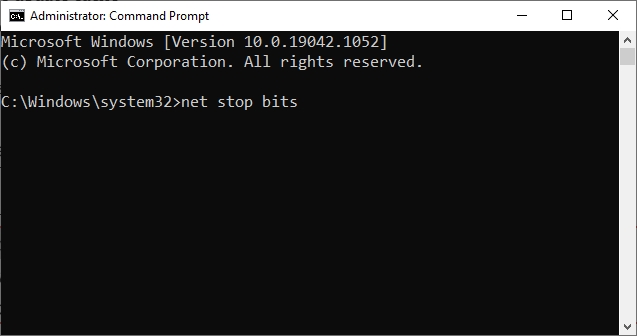
Now, minimize the window because we need to start them again after deleting the cache.
As the 2nd step, let’s delete the windows update cache. Here is how to do that:
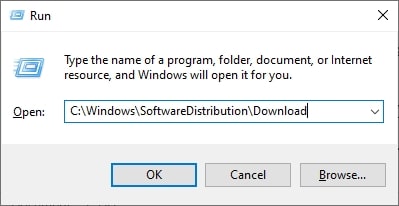
- Open Run dialog box (Press Windows key + R)
- Copy this path to the dialog box “C:\Windows\SoftwareDistribution\Download“

- Press Enter
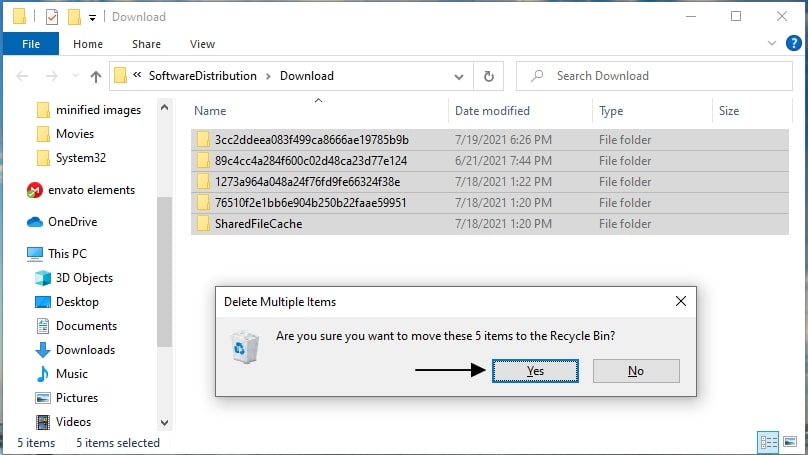
- It will take you to the Windows update cache folder. Select all and delete them
- If you have enabled recycle bin, don’t forget to delete them from that too
Now, you can start the services again to complete the reset.
Before that, open the minimized CMD and type the commands below and execute them one-by-one to reset the network configurations.
netsh winsock resetnetsh winsock reset proxy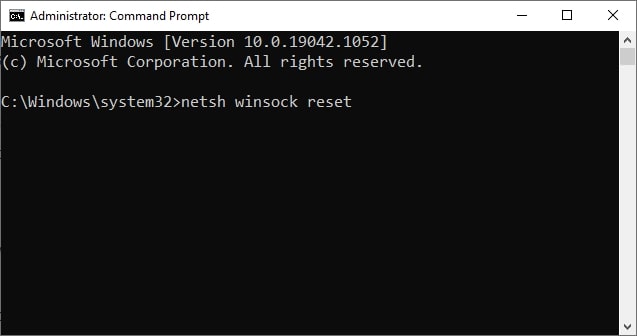
Then, execute the following commands one-by-one to complete the reset:
net start bitsnet start wuauservnet start cryptsvc
At this point, restart the computer and try to update Windows to check if the “we couldn’t connect to the update service” error is fixed.
Run the Windows Update Troubleshooter
If none of the above methods worked, you can run the Windows update troubleshooter. It will find the errors and fix them automatically so you need to just wait to complete the process.
Here is how to run the troubleshooter: (Note: These steps might be vary depending on the Windows 10 version you use but it is relatively the same)
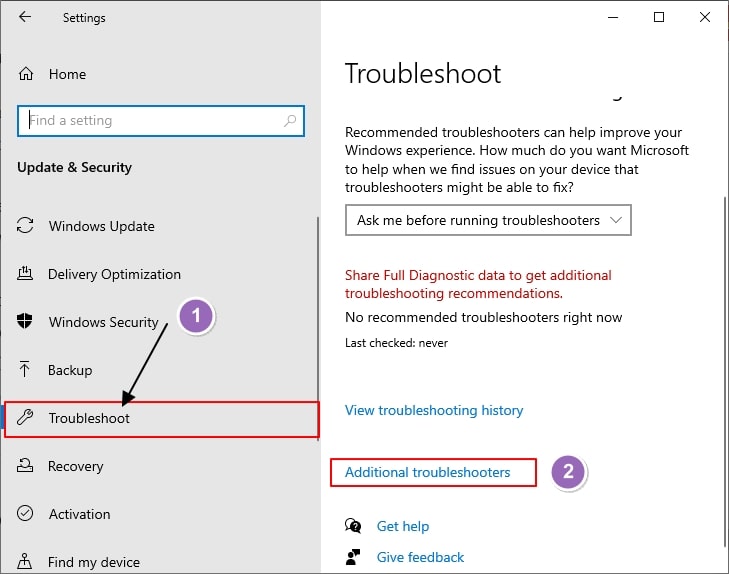
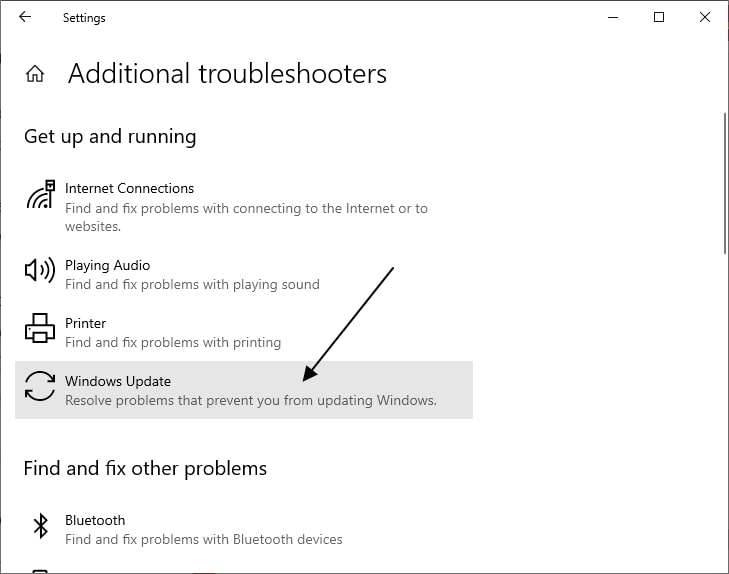
- Go to Windows Settings
- Go to Update & Security, then Troubleshoot.
- Click on Additional Troubleshooters
- Then from the window, click on Windows Update
See the images below if you can’t find them.
Restart your computer after you finish troubleshooting. After this, run the Windows update again.
Now, your problem should be fixed!
Additional Solutions to Try
If there is anything wrong, there might be some other rare issues causing the “we couldn’t connect to the update service” error. Therefore, if such a thing happens, I recommend you to try other solutions below.
Here, we are going to solve these 2 issues:
- Corrupted system files
- Corrupted Disks
01: Check for corrupted system files
Corrupted system files can cause many issues and Update issues are just one of them.
Here is what you need to do to check for corrupted system files:
- Search for cmd in Windows search.
- From the resulsts, Right-click on Command Prompt, and select Run as Administrator.
- In the Command Prompt, type “sfc/scannow” and press Enter button.
- It will take some time to finish the process.
- If there are issues with the computer’s files, the troubleshooter will try to automatically fix all the problems.
- Restart your PC, and then Run the update again.
sfc/scannow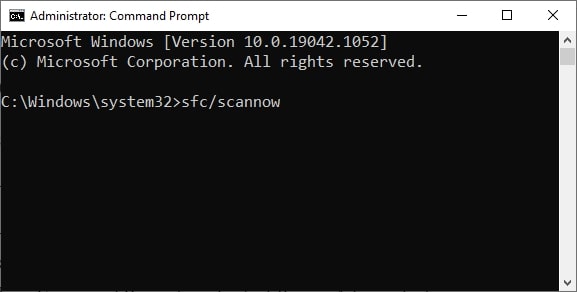
02: Check for corrupted disks
Corrupted disks are the same as corrupted files but at the disk level. It will cause a lot of headaches to you so it is better to check and get them fixed.
How to check for corrupted Disks and fix them:
- Open CMD As Administrator;
- In the CMD, type “chkdsk c: /r” and press Enter button;
- Wait untill the process complete, then restart your Computer; and
- Go and check for updates
chkdsk c: /r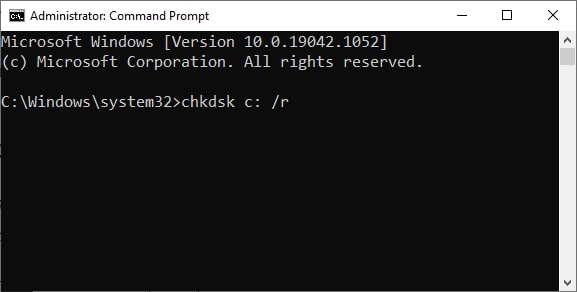
That is the all solutions available on Earth now! Hope you get your problem fixed.
Leave a comment below if you have any questions regarding this guide. Don’t forget to share this too!
External Resource: Microsoft Help Forum
Read more:
Microsoft Edge Surf Game Cheats & Easter Eggs (New)
How to Create Strong Passwords You Can (Easily) Remember
How to Enable Windows 10 Auto Login Feature in 2021