How to Fix 0xc1900101 Update Error in Windows 11
Recently a lot of user have reported in forums and comment sections that they are encountering 0xc1900101 error when installing windows 11 from Microsoft windows 11 installation assistant while some users have encountered the same when running regular windows 11 update.
The other similar errors are:
- 0xC1900101 – 0x2000c
- 0xC1900101 – 0x3000D
- 0xC1900101 – 0x30018
- 0xC1900101 – 0x40017
- 0xC1900101 – 0x4000D
- 0xC1900101 – 0x20017
So, we have made this quick and easy guide to solve the 0xc1900101 issue, the following steps will help you to resolve the error. Keep scrolling…
Why Am I Getting 0xc1900101 Error…?
Rather than just fixing the issue from below, we believe it is always good if you know the possible causes for this issue. It will help you to understand more how windows operating system works and also, you will be able to avoid the same issue occurring in future.
Here are the possible causes that we found for the error code 0xc1900101 (and others mentioned above) when installing/upgrading to/update windows 11.
- Outdated Drivers
The first and one of main reason we found is the outdated drivers. If you are using old school drivers that have never updated, then it might be the issue.
- Outdated Bios
If your computer’s bios firmware is not updated, it can trigger the 0xc1900101 error. Because latest operating systems like windows 11 needs latest bios firmware to be installed on machines.
- Software/Hardware conflicts
Hardware conflicts are the most issue we found when looking up for this issue
for example, if you are using two separate ssd drives, then this error might trigger due to hardware conflicts
- Antivirus software installed on your computer
Antivirus or protection software like Avast, McAfee can sabotage updating process sometimes. So, it can lead to errors like 0xc1900101 that you encounter.
How to fix 0xc1900101 error when installing/updating Windows 11
I hope that now you know why this error occur. Now it is time to fix it. In order to do that, we have listed solutions below. What you need to do that is going through all of them and run the update/install again to see if the problem is solved.
NOTE: before updating your device’s bios firmware or driver software, we strongly recommend creating a restore point in case if anything goes wrong. (Click here to see how to do that). If you still don’t know what is a system restore point, we also have an quick read article about it, click here to read.
01 – Ensure there is a sufficient storage available in your system
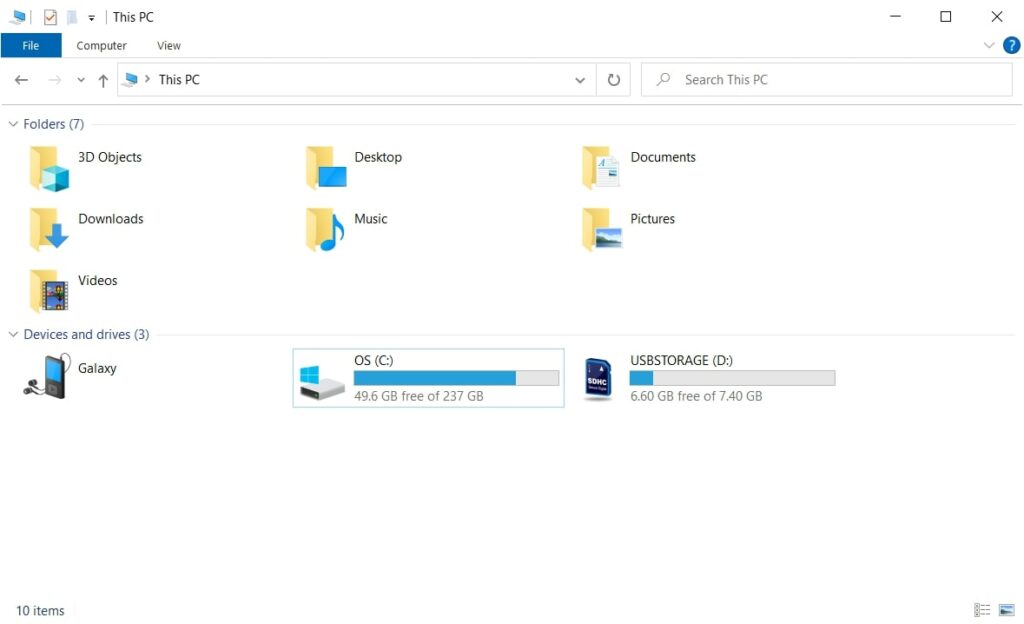
Before going any further, check whether you have enough space in your system’s storage. if not, doing whatever won’t stop the error code 0xc1900101 occurring again.
Enough space means at least 20GB free space in your main (Windows 11 installed) drive. If not try delete some unwanted files to free up some space.
02 – Unplug peripherals and other physically connected devices
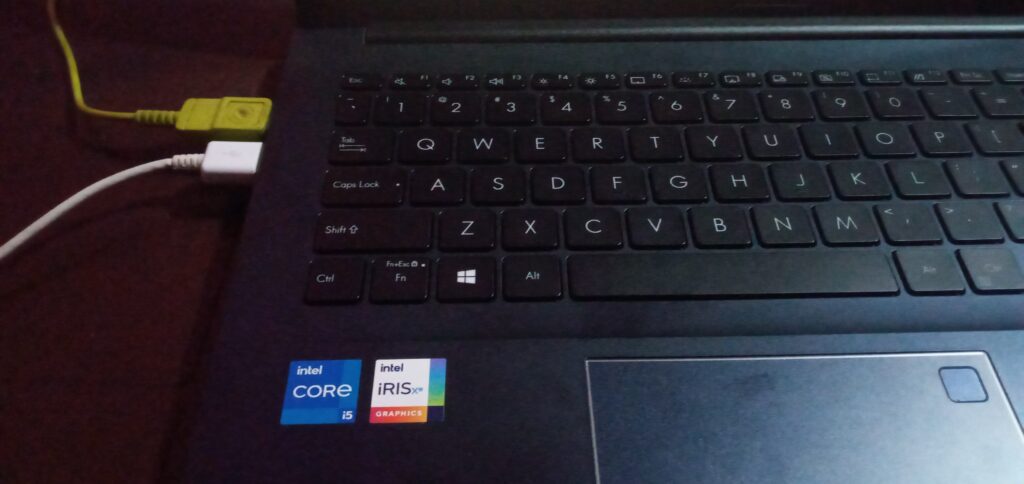
Windows upgrade won’t work if there is unsupported devices are connected, therefore, try removing any peripherals and other devices such as flash drives/memory cards from your PC.
03 – Remove extra SSD/HDD drives
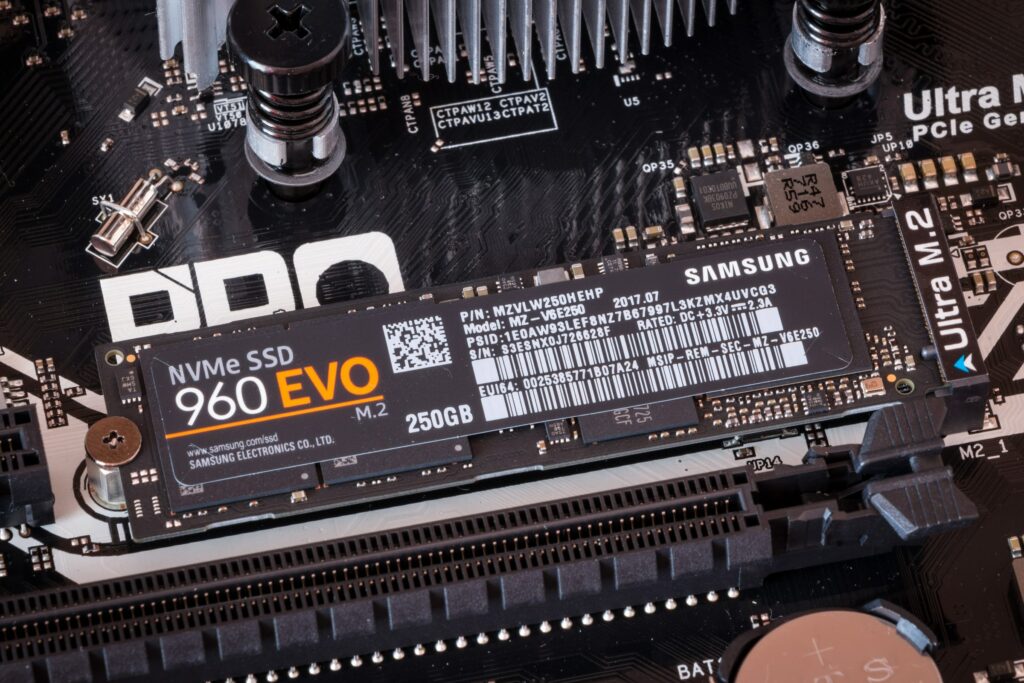
Some users have reported that removing extra SSD drives have fixed the 0xc1900101 error and successfully installed windows 11. So, if there is any extra storage device in your system, try removing them until the upgrade/install finished. Then you can re connect the devices to PC and work without any issue.
link to the resource: Microsoft Windows forum
04 – Update device driver software
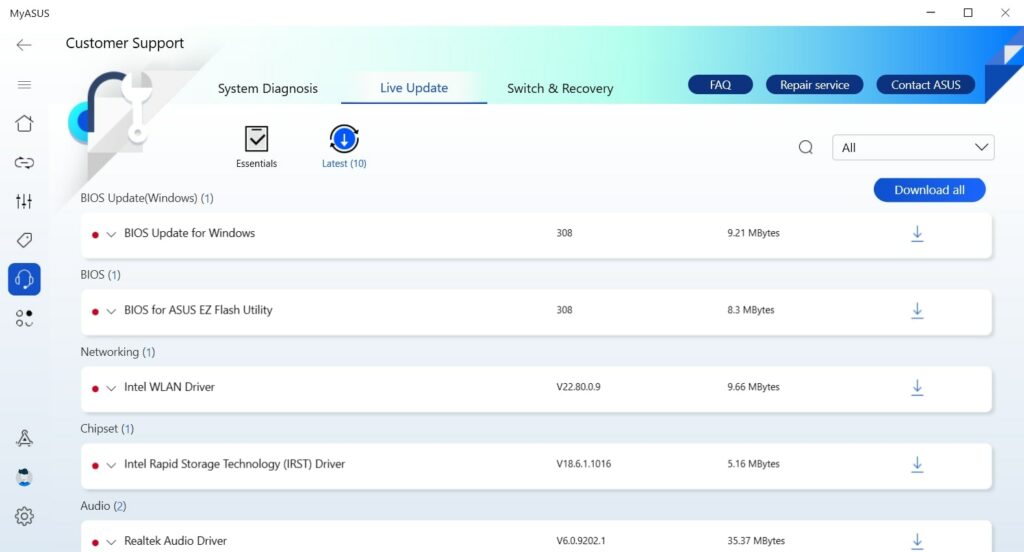
This works best with laptop users, although even you are using a desktop, updating the drivers can resolve the issue.
- Go to your device’s (laptop/motherboard/pci e card) manufacturer website and download the latest drivers available.
- Install them and restart your PC
- Re run the update/install
If the update/install failed again, then try the below steps to fix the issue.
05 – Uninstall/Disable third party antivirus software
Antivirus software can terminate the upgrade process, therefore disable or uninstall if there is any third party antivirus software installed, you can turn it on or re install after the install complete.
Steps you need to take in order to disable the virus guard may vary depending on the software you use. But if you want to uninstall it:
- Go to settings and then Apps
- Find the software and click on it, the uninstall option will appear and then click the uninstall button.
06 – Disable Realtek Drivers
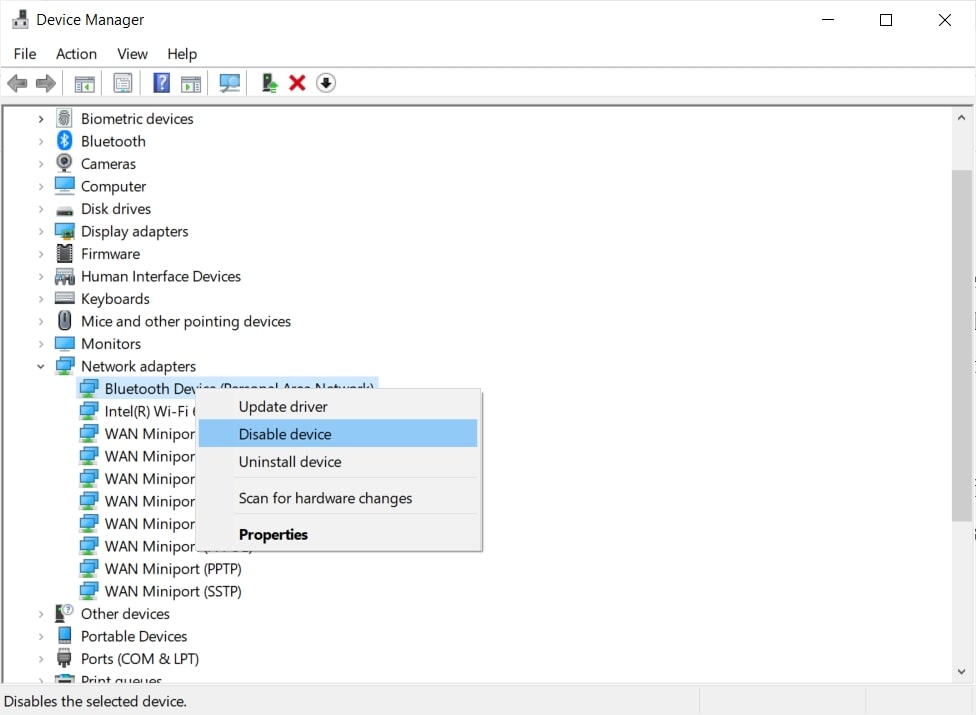
Sometimes, Realtek drivers can also be a cause to the 0xc1900101 error. Realtek drivers are responsible for network, sound and Bluetooth hardware, you can disable them manually until the upgrade completed, then you can enable them back and it will be fine. To do that:
- Go to device manager, use Windows search if you don’t know where to find it.
- Once opened, select network adapters and check if there is any Realtek adapter in your PC.
- Right click on it and select Disable device option.
- Then go to the other adapters such as Bluetooth and do the same.
- Restart the PC
Now you can run the Windows 11 installation assistant to check whether the 0xc1900101 error is gone. If it still giving you the same problem, don’t worry. You can try the other options given below.
07 – Fix hard drive errors
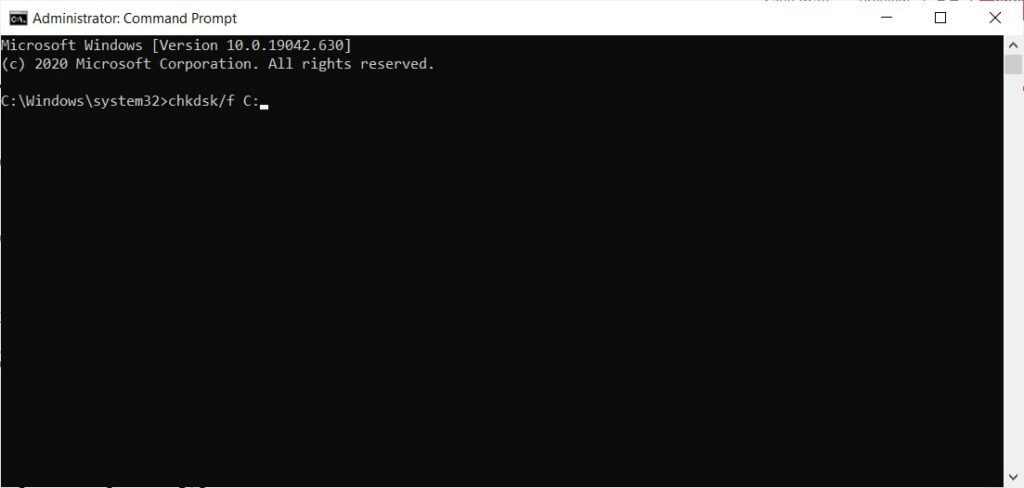
Even you have enough space in your hard drive, corrupted file system or hard drive errors can trigger the 0xc1900101 error. To check and fix your hard drive follow these steps. You won’t need any third-party software to do this.
- Open CMD in administrator
- Type chkdsk/f C: and hit the enter button to run the disk check. After complete, restart your PC.
08 – Repair system files
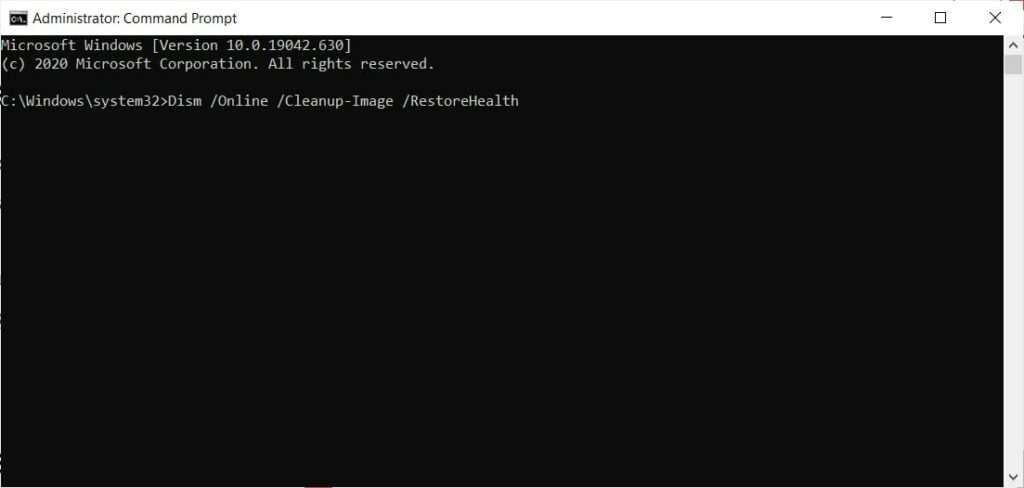
If certain system files are damaged or corrupted, there is an option you have to take in order to repair those files. You can accomplish by using CMD. Here is how:
- Open command prompt as administrator
- Type “Dism /Online /Cleanup-Image /RestoreHealth“
- Press the Enter button
The Last option – Clean installing Windows 11
If none of the mentioned methods worked, the best option is installing Windows 11 using the Windows 11 ISO file or from an installation media. This is also applicable even you want to just update windows 11 to the latest version. Because Microsoft update the ISO file/Installation media files whenever there is an update is released.
To do that, first make sure to backup all your files in C drive, if you want to format other drives, then take a backup of them as well.
Then you will need a flash drive to download all the necessary files and install windows 11 from it.
If you don’t know how to do that, then don’t worry, Follow the link here to a video where it shows how to do that.
If you have any questions please ask them using the comment section. Have a nice day!
Read more…
How to STOP Auto updates (Permanently) in Windows 10
How to Create Windows 10 Bootable USB in 2 Minutes