How to STOP Auto updates (Permanently) in Windows 10
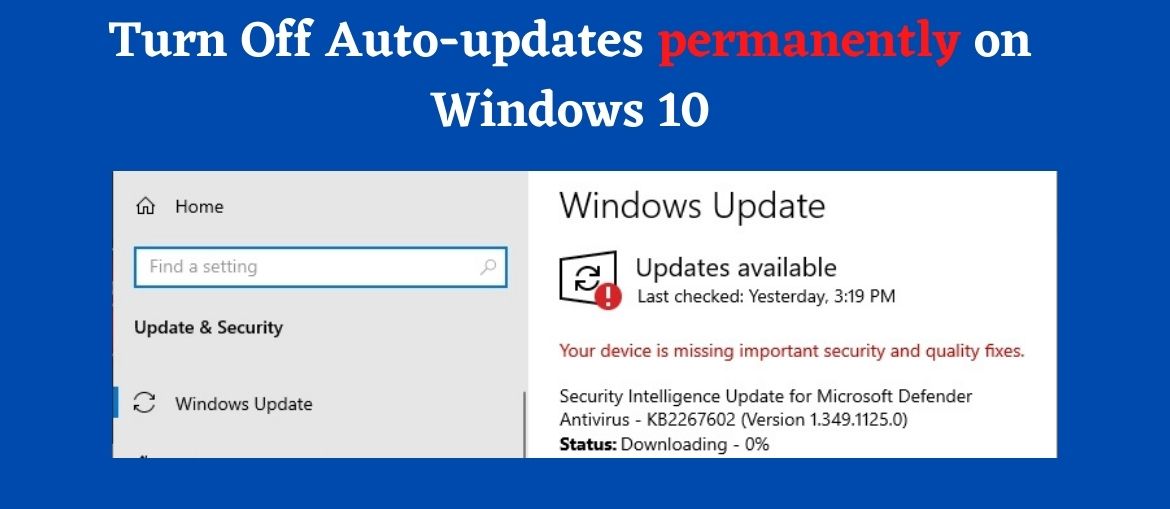
Updates play an important role in an Operating system. In Windows 10, the system updates itself automatically without any user (you) interaction. Sometimes this can be bothersome to you especially when turning off your computer.
Not only that, this can cost a lot of data if you are using a mobile data connection. So maybe that is why you are here, to disable/stop automatic updates permanently in Windows 10
In this guide, I will show you how to do that. It is easy. But there are some important things you need to know:

- To keep your PC/ Laptop secure from malware and other attacks, installing updates are essential
- Updates can increase your PC’s performance. So why not updating your OS?
- Updates bring new features, fix various bugs that can bother you while working on the computer
- In short, updates are essential for any Operating system to work properly.
Even though the article is about to turn off automatic updates in Windows 10 *permanently, I do not recommend keeping older Windows 10 OS without updates because of the security of your data. So keep that in mind and go below to know how to stop auto updates permanently in Windows 10.
There can be a thousand methods to turn off automatic updates, a lot of them just work temporarily and updates will be turned on again after a while.
But these solutions will work perfectly on your computer and all you have to do is just follow the steps below. Keep scrolling!
01 – Set your connection to a metered connection
This trick is really easy to do and worked well for all of my PCs. It will set your connection as a metered (limited data usage) connection, so you can set a data limit and when the limit is reached, Windows will stop updating automatically.
The best thing about this trick is that this will turn off the updates permanently! But as I said earlier, keep in mind to turn off this update your computer at least once a month to keep your computer secure and work without any bugs.
Here is how to do this:
- Head over to connections, Right-click on the connection you use, click the Properties button.
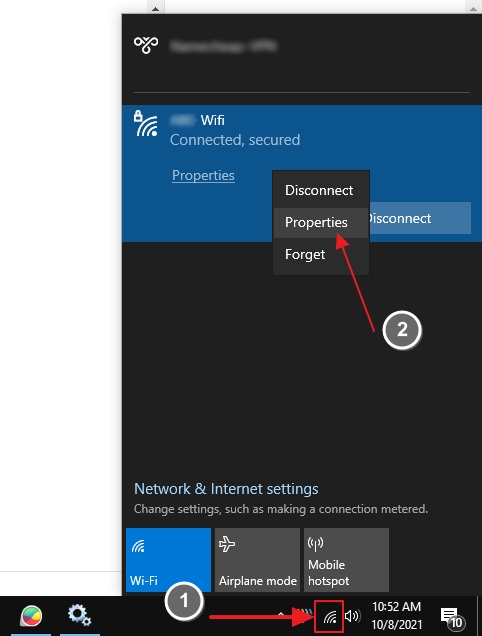
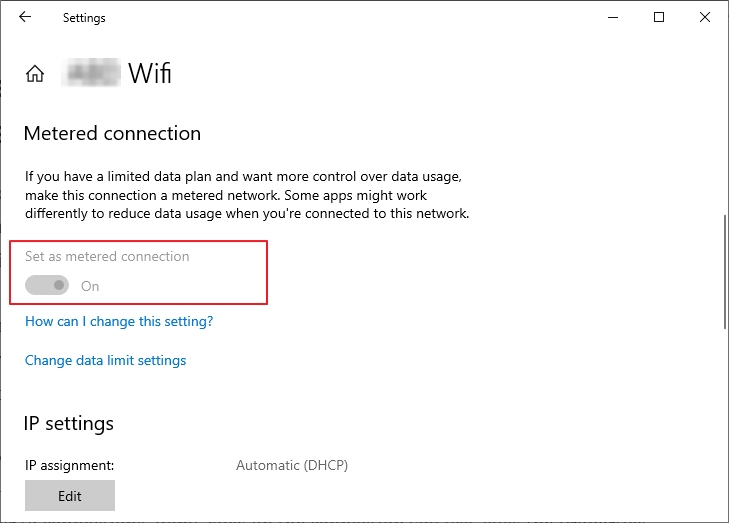
- It will take you to the connection settings, from there you can turn on metered connection.
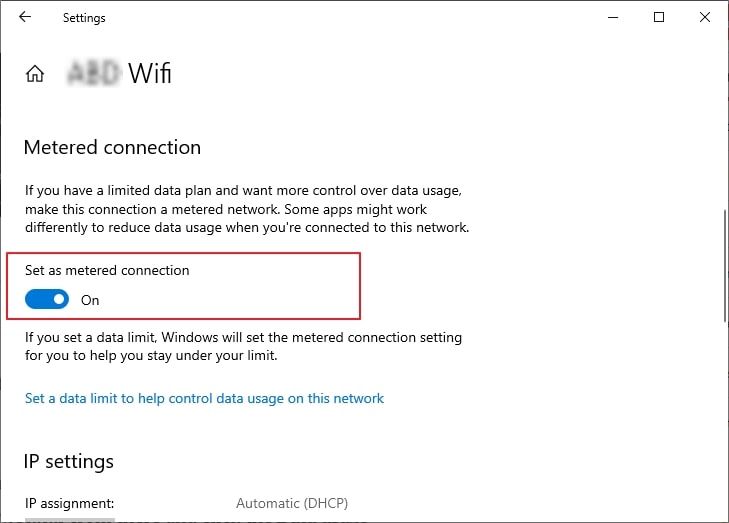
Now, you have to set a data limit. To do that, while connected to the wifi or ethernet connection;
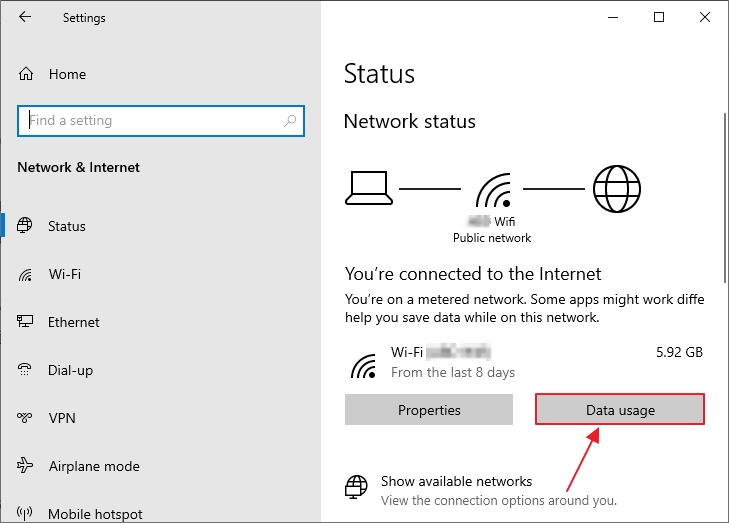
- Go to Settings and then Network and Internet
- You will see the Network status from there and click the Data usage
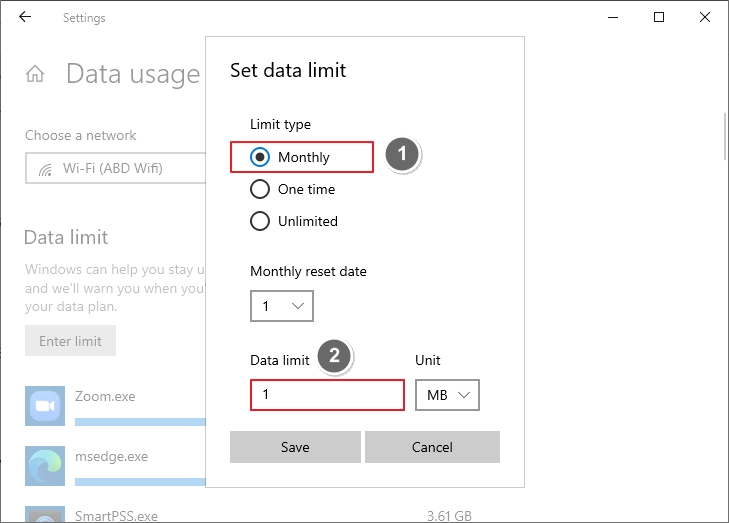
- Inside Data usage settings, select the connection and click Enter limit
- Enter any limit you want and click the Save button. I will set the limit to 1MB here
As soon as it hit the data limit you will see a notification that tells the data limit is reached. After that, automatic updates will be turned off.
What if Set as Meterd connection is greyd out?
Sometimes you will see the setting is greyed out. Microsoft has an article about it (You can read it from here to know why this happens) but it can happen if you have already set up a metered connection and have set a data limit. If that is not the case, there is an easy way to fix that. Here is how;
- Go to the connections
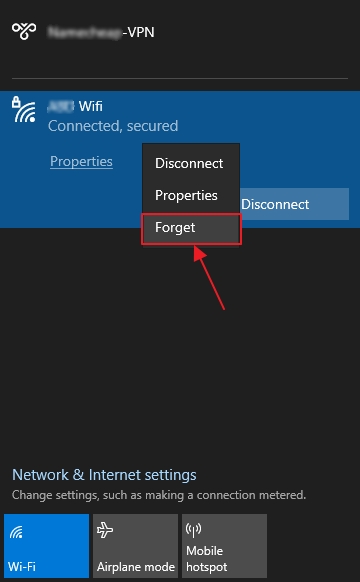
- Right-click on the connection you use
- Click forget and connect back (Unplug and plug back the cable is you are using an Ethernet connection)
- Repeat the above steps
Now you will see the option is available to use. 😀
02 – Use Windows update blocker tool
This is a third-party tool that will do the job in just by few clicks! Here is how to use it.
- First download the update blocker from here.
- Since it is a third party software, scan it before use.
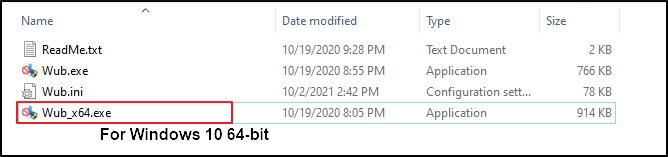
- Now extract the tool and run it. (If your system is 64bit, then run 64bit exe version)
- Check the Disable updates option and click Apply now button.
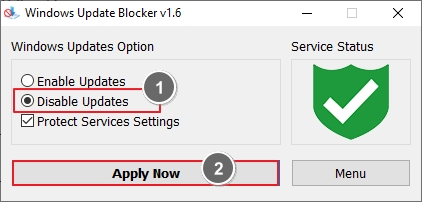
- That’s it! If you wanna enable auto updates open the tool again and check the Enable updates option and click Apply Now button.
03 – Turn off automatic updates using Group Policy Editor
You can use the Windows group policy editor to disable auto-updates on Windows 10. Follow these steps below:
Note: Group policy editor might not be in Windows 10 Home edition
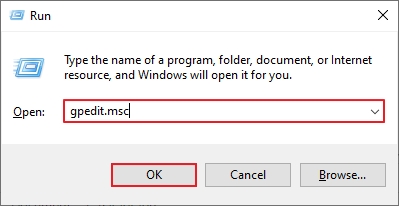
- Press Windows key + R to open the Run dialog box

- Type gpedit.msc and press the Enter button. It will brings up the group policy editor
- From there go to;
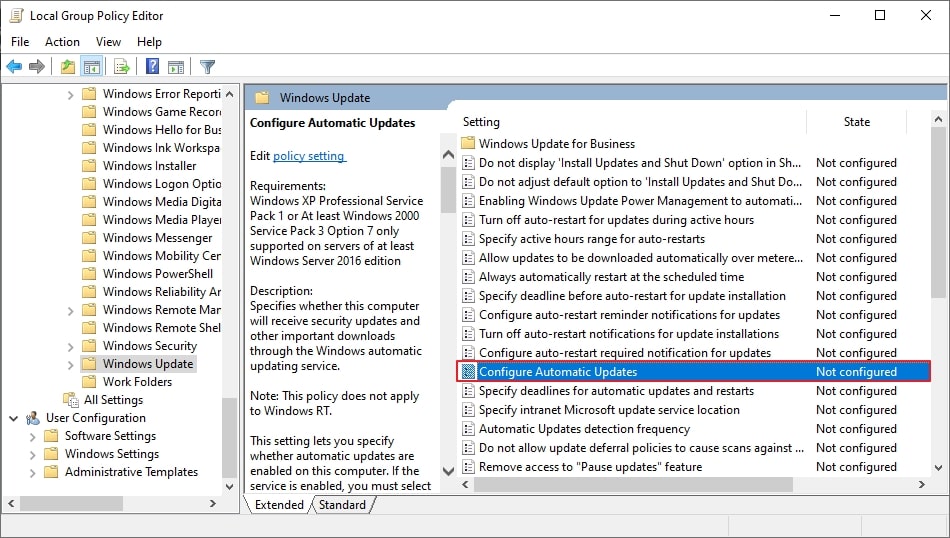
Computer Configuration > Administrative Templates > Windows Components > Windows Update

- Locate and double click on Configure Automatic Updates from the right panel
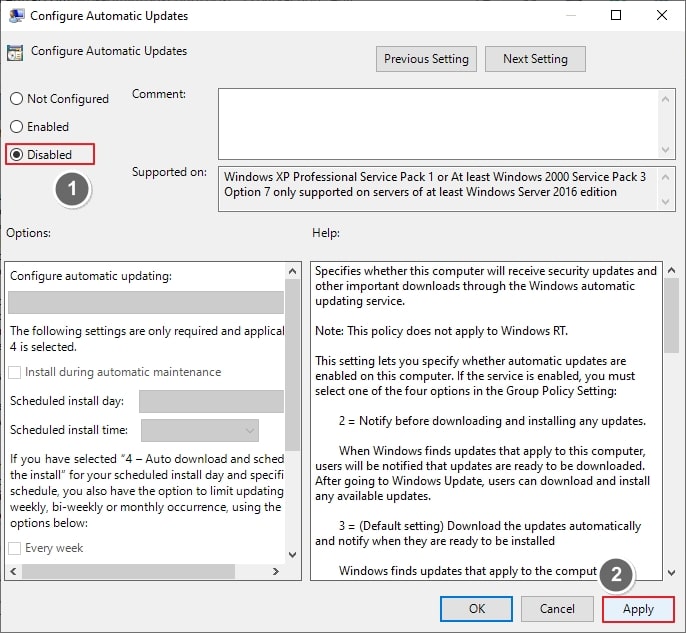
- Once opened, check the Disabled from the left side. Then click Apply and Ok
04 – Disable Windows update service
Windows update service is what governors Windows update system. Disabling it will stop/disable automatic updates downloading to your computer. Let’s see how to disable that;
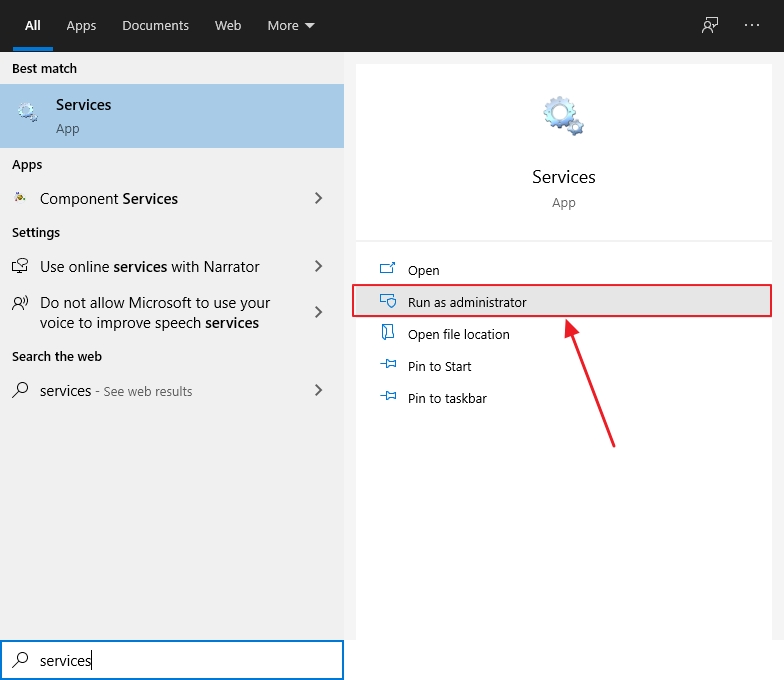
- In Windows search, type “Services” and Open services app
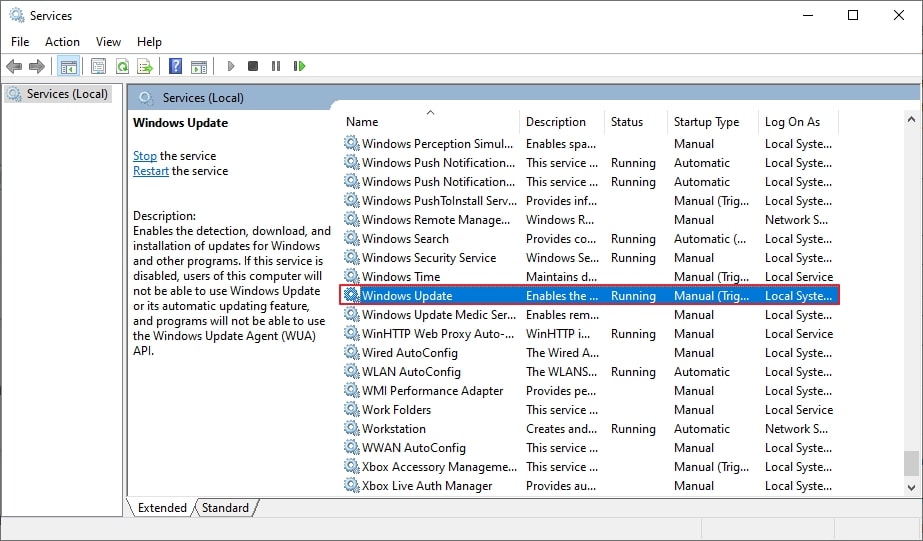
- Scroll down and find “Windows update” service
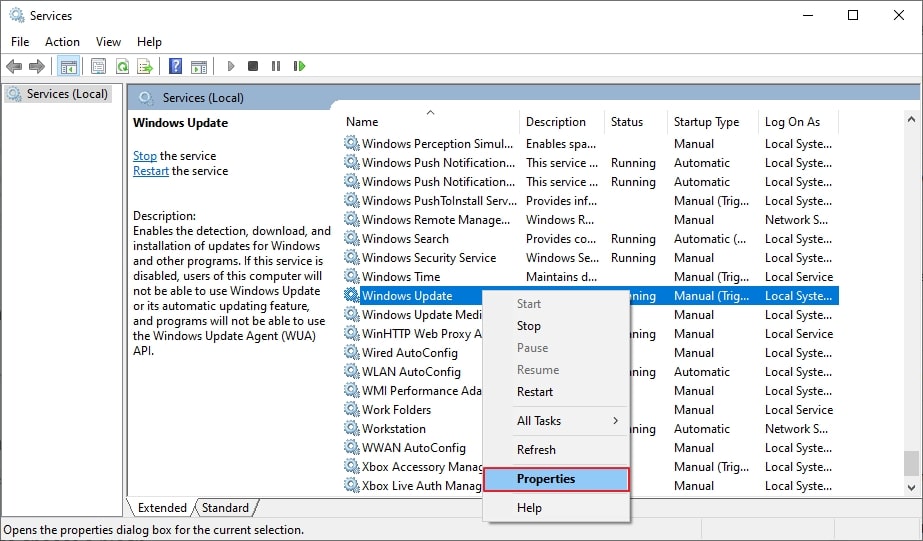
- Right-click on it and click Properties
- From drop-down menu, select Disabled
- Click Apply and Ok button

- Restart your PC
That is it. Which method worked for you? If you have any issues regarding this guide, leave a comment below so I can help.