How to Recover Deleted Files in Windows 10 – Free
Deleting files by mistake or by some other unintentional ways is something that usually happens to all of us. I, myself, have also dealt with the same unpleasant experience whenever I use computers.
Recovering files is not the same as deleting them; and, the thing is, some files may never be recovered at all. Accidentally deleted files cause headache especially if those files are of high importance, need to be submitted urgently, or works that we have spent most of our days and nights. Whatever reason it is, the more that we need not to fail to recover them. Don’t lose hope cause the chance of retrieving a newly deleted file is very high! This article will help you.
To recover deleted files in Windows 10 Here, I used a free software. You can go along with me and follow every step given below to recover deleted files in your windows 10 PC.
Recover Deleted Files In Windows 10 Using Recuva (Free Version)
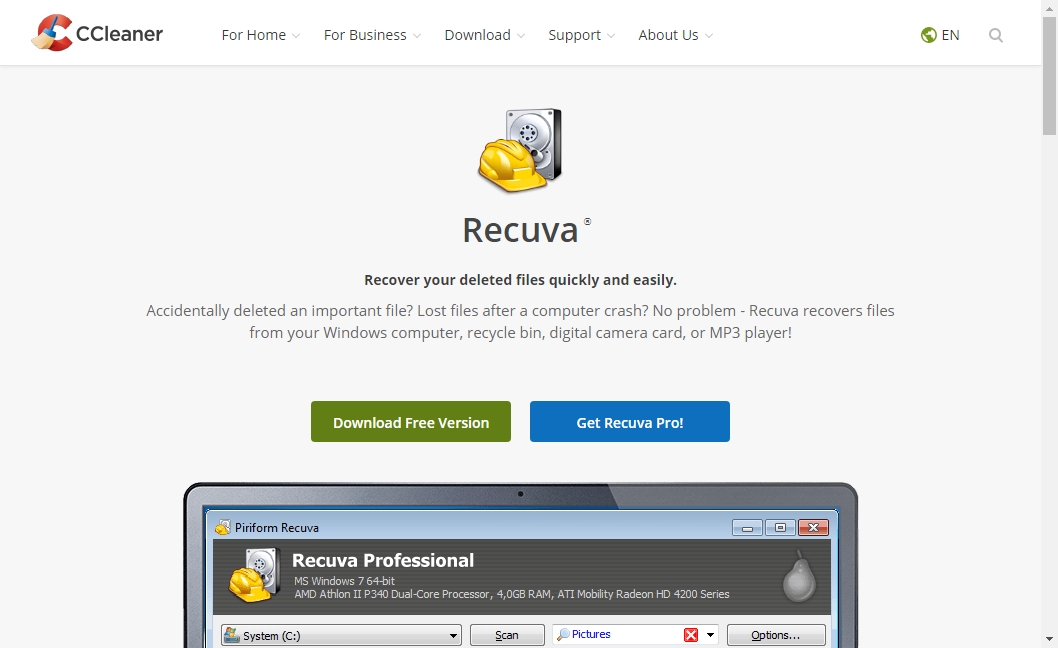
Recuva is a free software and there is also a pro version of it. But, its free version has everything you need. What you loose when use it for free are Virtual hard drive support, Automatic updates and Premium support. The decision is yours if ever you want to purchase it to get all the features of Recuva Pro.
Install Recuva & Open it
To recover deleted files from your Windows 10 PC, first you need to install Recuva. You can install Recuva in two different ways.
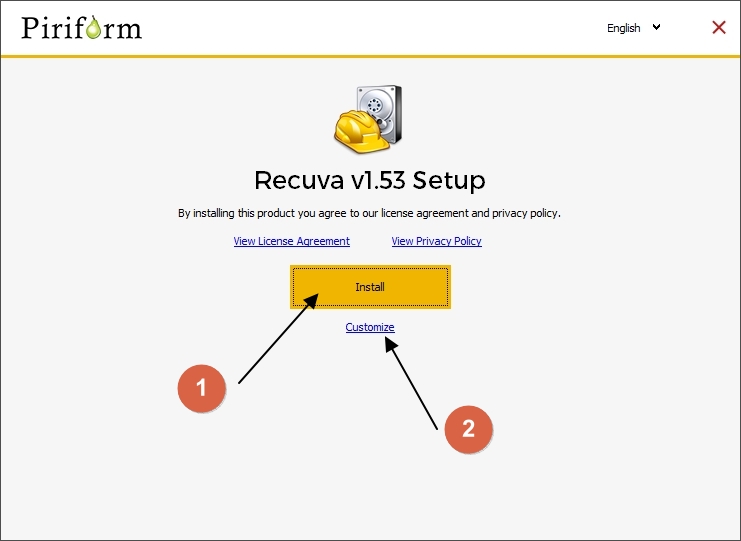
- Quick install
- Custom install
Custom Install
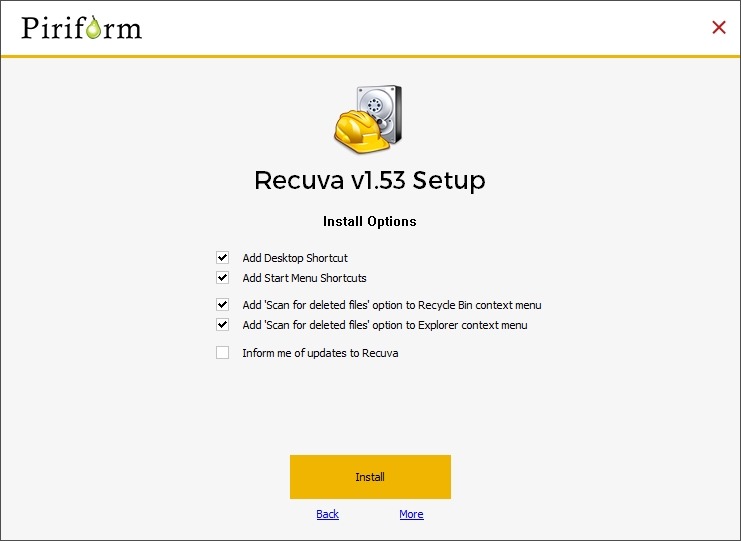
You can go with the custom install if you want to stop creating desktop shortcuts, start menu entries etc.. After selecting the options click on “Install“.
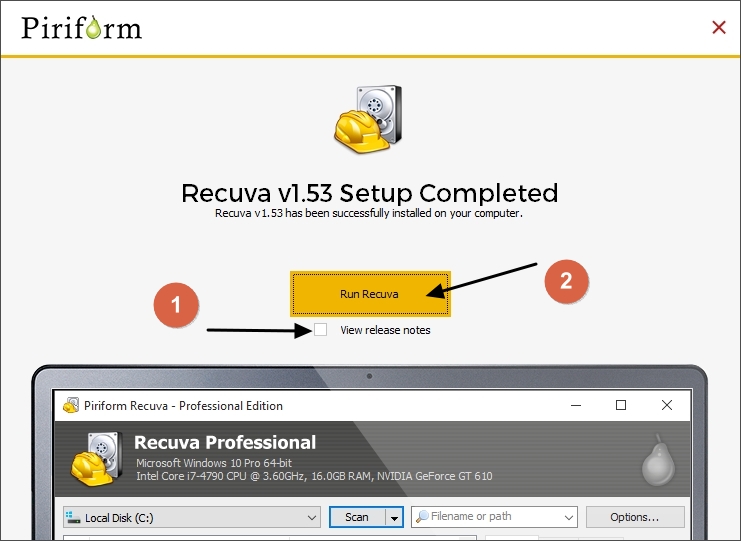
Once installed, uncheck the box “View Release notes” and then click on “Run Recuva“.
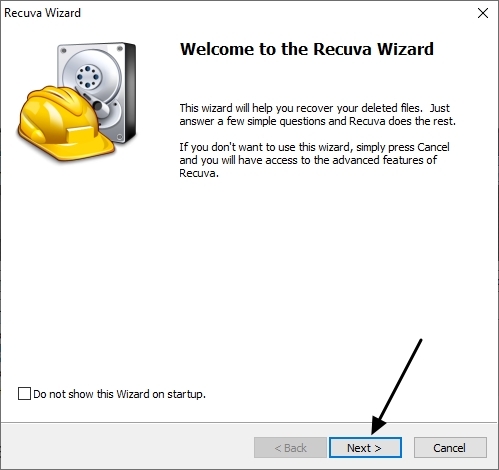
In the first initiation, Recuva wizard will be opened. Using the wizard, you can choose which file types you want to recover and where to scan. Do not close it and continue with the wizard by clicking the “Next” button.
Choose the file type to search
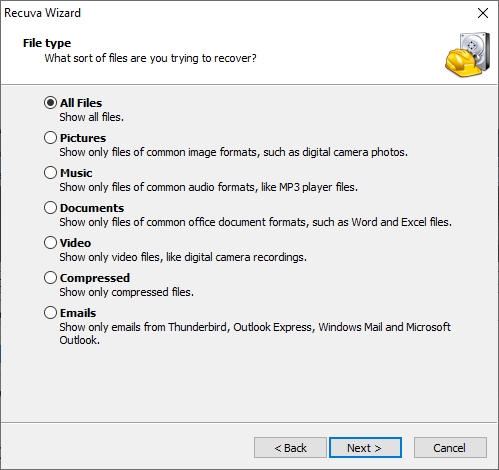
If you want to recover a specific file from your Windows 10 PC, you can select it here. Selecting a file type can reduce the scan time a lot. But, if you want to recover multiple files such as photos, videos, etc., select the “all files” option and click on Next button to go to the next step.
Select file location
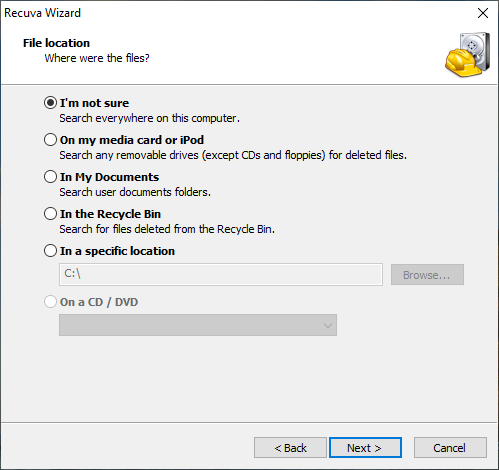
You can select the location where the file was deleted; you can also save a lot of time if you remember the exact disk or path where the file was. However, you can select the “I am not sure” option so Recuva will scan everywhere in your hard drive to recover the selected file/s in the previous step. Once choose, click on Next button.
Deep scan
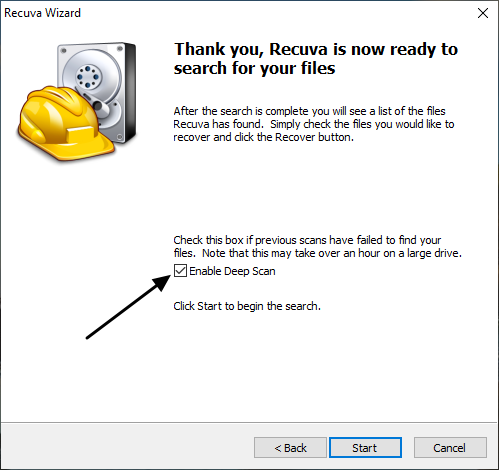
Make sure to enable this to get better results. Deep scan will scan every file that has been deleted from your computer. Take note that this will take much longer time than a normal scanning process; hence, the need to prepare yourself to keep your computer turned on until the scan is finish is very vital in this.
Since deep scan take longer time (maybe more than an hour), you can go first with the normal scan, and if you did find nothing, you can perform a deep scan.
Wait until the scan finish
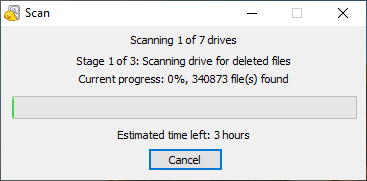
If you did the above-mentioned steps correctly, then the scan should perform well and now you only have to wait until it gets completed. As mentioned earlier, keep the computer turned on.
Depending on the scan method and options you choose, it will take approximately 1 minute-3 hours to complete the scan. Recuva doesn’t use much computer resources so you can do other works on your computer without encountering any problem.
After completing the scan
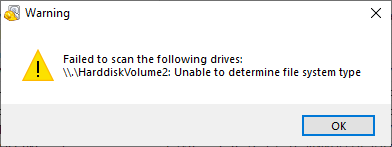
Once the scan is completed, search result windows will appear. In case you get any error like this, do not panic. You can learn why this error occur from here . Until then, just ignore the error for now and let’s focus on the scan results you get.
Understand Recuva Scan Results
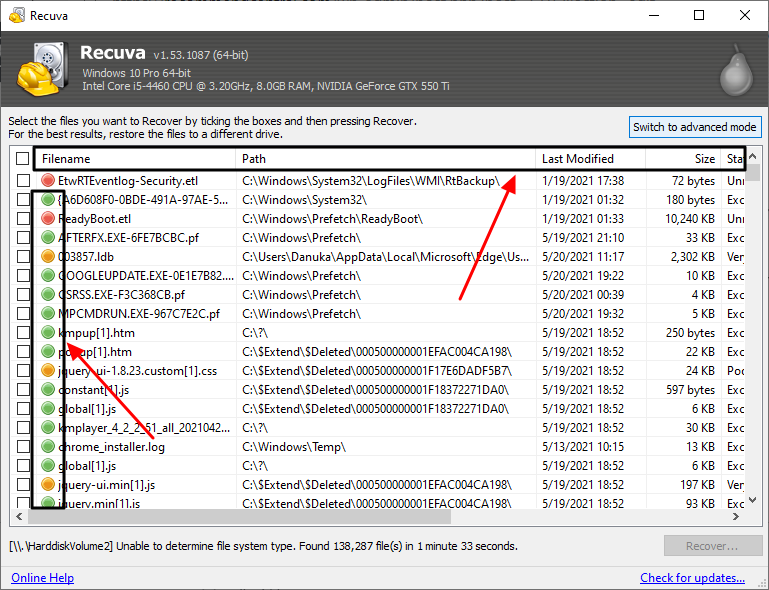
Based on the scan results, you can see that the files with some weird file names are labeled with different colors (status). Let us first identify what each of these colors mean.
- Green Color : Excellent condition – Recoverable
- Orange Color : Poor/Very poor condition – Recoverable
- Red Color : Unrecoverable (you can recover the file but it may not in usable condition)
These status are not 100% accurate. But, we can get an idea based on these colors whether a file has the chance to be recovered or none at all. In short, these colors indicate how many times the file has been overwritten by another file. Take a look at the data given below:
- Green color – No overwrites
- Orange color – Some overwrites
- Red color – Too much overwrites
Therefore, the higher the overwrites, the less chance it is usable.
In addition, you can see more details about the file as:
- Path : Where was the file when it got deleted
- Last modified : The date that the file was lastly modified (very useful when finding files)
- Size : Size of the file (useful to find large files [Zip, Video])
- State : Recoverable state of a file
- Comment : Whether the file is overwritten or not
The reason to explain this is that you can sort-out the scan result using these (You just need to click on one of these tabs). It will be very easy for you to recover your deleted files.
Let’s get started and recover deleted files in your Windows 10 PC!
Recover deleted files in Windows 10 from the scan results
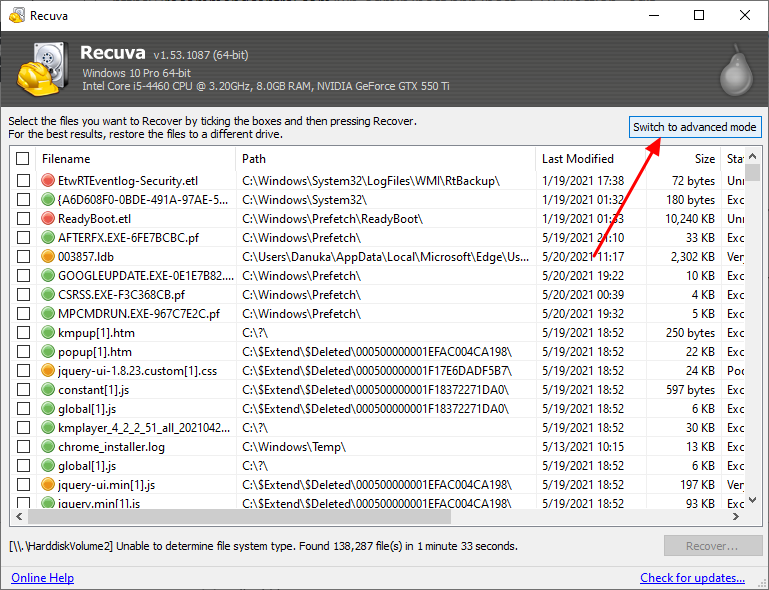
You can recover files while you’re on the basic mode, but let’s switch to advanced mode so you can recover specific file types using the search box.
How to Sort-Out Search Results to Get Files Quickly
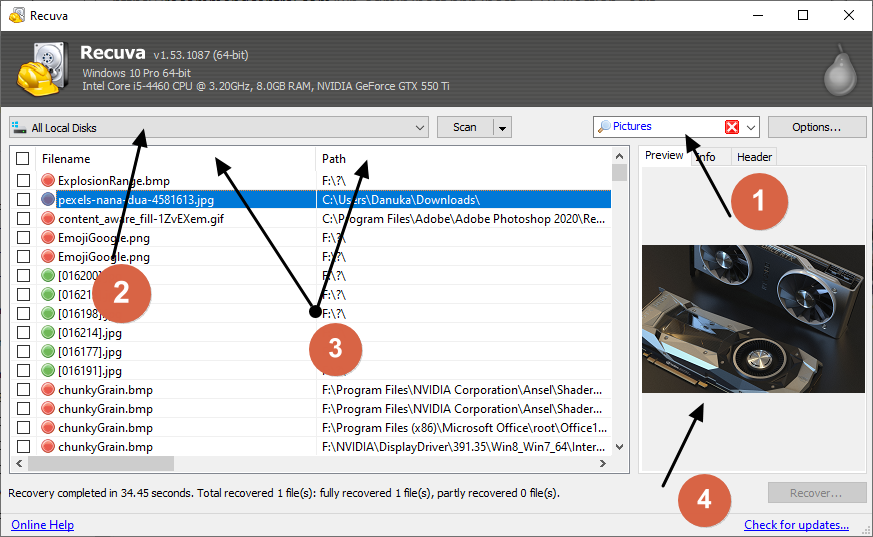
Once you are in the advanced mode, you can easily find the file/s you want by sorting the results. Here is how:
01 – A search box will be available on the top-right of the window and from there, you can search your files through their names. However, I recommend you to select the file type of the file that you want to recover from the dropdown list you want to recover it from because the file name might have been changed after the deletion.
02 – If you remember the location of the file before it was deleted, then you can use this drop down list and select the disk. It will narrow down the search results so you can easily find it.
03 – You can use these columns to further sort-out the scan results (by file size, by its status).
04 – You can see a preview of some files(Images) once you click on the file.
How to Restore a File From the Search Results

You can select a single file or multiple files to restore.
To select multiple files, check the small box on the left portion of the file name (pointed using a red arrow). Once you selected all the files, right click and select “recover checked”. Or click on the “Recover” button on the bottom right corner (pointed using a blue arrow)
To restore a single file, just simply select the file, right click, then select “recover highlighted”. Or click on the “Recover” button on the bottom right corner (pointed using a blue arrow)
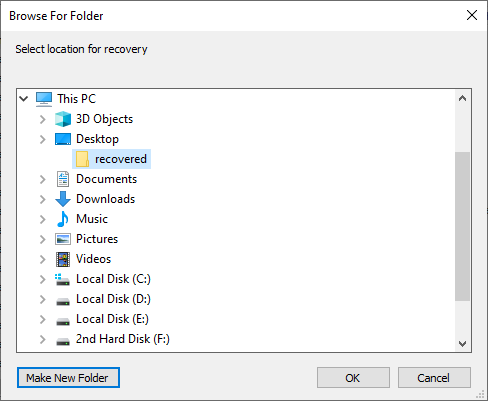
Afterwards, a windows will open and will ask where to store the recovered files. In this case, avoid restoring files to the same disk. Then click on the “OK” button.
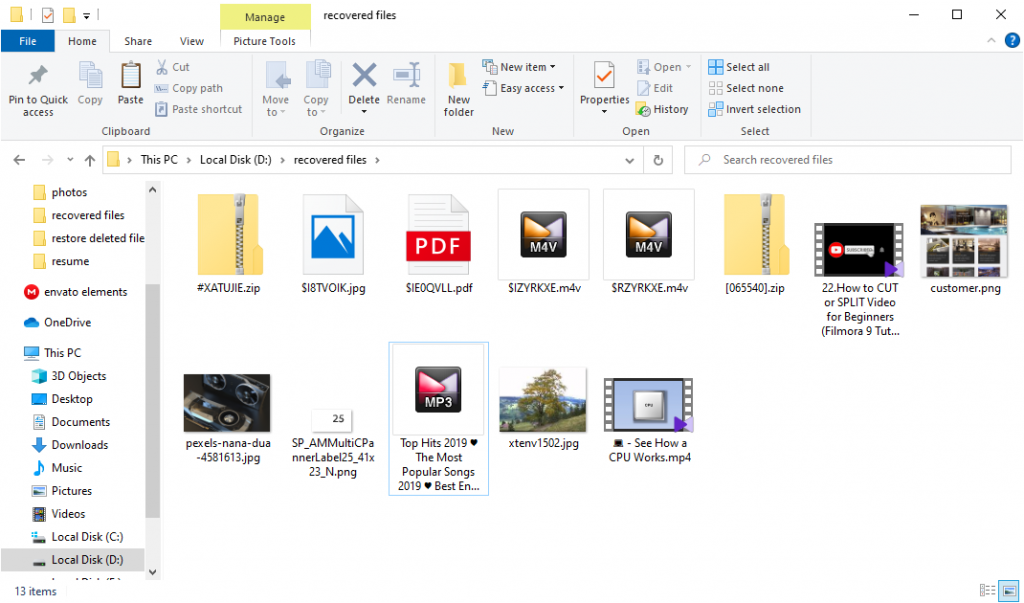
A small confirmation windows will open once the restoration is done. Now, you can check the recovered files.
To sum it up, the chance of successfully recovering a file varies depending on the situation. If the file is really damaged, then you don’t stand the slightest chance of getting it back even you use the best recovery software. But for some cases, using a better program would be able to recover that file.
Frequently Asked Questions
Can I recover any deleted file in Windows 10 using this software?
You can recover any file type using this software. You can easily find the file you want to recover from the search bar in the advanced mode once the results appear.
Is it safe to use data recovery software?
When using a reputed software like Recuva, your data and hardware are safe. Make sure your hard drive is not corrupted because recovering data from a corrupted hard drive may cause issues. If you want some more info, simply leave a comment below.
Related Article: 4 Ways to Uninstall Microsoft Edge in Windows 10